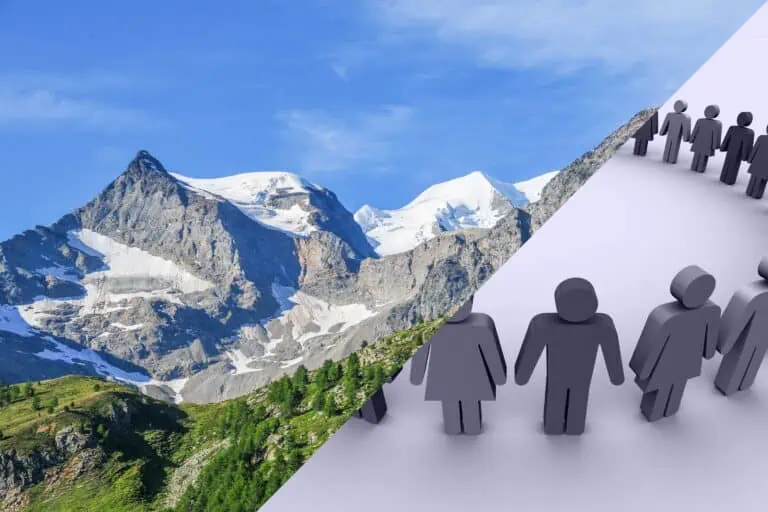

Get spot-on travel info
We cover all details from planning to booking. We update our website all the time.

Get guidance
We’re locals and real tourists. Take advantage of our experience.

Get answers
Ask us anything in the forum. Our moderators and 11190 members are happy to help.
Reviews on Facebook and Google

Wonderful and useful website, provides lots of help for me while planing my visit to Swiss this summer for the third time. Very grateful for all the tips and information provided!

Be careful here! Some of these lenders you see here are fake, they are only after your money when you send them a registration fee, you will hear from them no more. Last month when I needed working capital for my business I went to look for a loan in my bank and the interest rates were too high so I went looking for local lenders online and Face book I contacted 4 different lenders and they all requested upfront fees because I was not based in their country I understand you have to pay an Origination fee to international lender before getting a loan but I fell into the wrong hands, and they ripped me off over $6,000 before a friend of mine introduced me to Diamond Loan Service LTD Diamondloanserviceltd @ g m a i l. c o m where I was given $95,000.00 at 4% interest to pay back in 8 years. This is the only company to trust.

Very useful information about the means of transport in Switzerland and how to spend your holidays in Switzerland and very well explained, by sections. Plus there is a chat where tourists can ask questions and they get answers pretty quickly.

Quite good information.

I had been under Swiss Alp from 11.02.2024 to 23.02.24.. I got mesmerized by the beauty of Swiss Alp. The villages preserved their beauty at its best. Eco friendly environment, the hi tech swiss Rail, the cooperative people, the natural beauty of nature made me emotional while moving back.The one time must visit place on earth 🌎.

My husband and I love Switzerland and we are very happy to have this opportunity to get to know this country based on the advice and knowledge of other travelers and at the same time consult our travel plans

Love this website! It has all the info you need to plan an amazing Swiss vacation. I love the input from fellow travelers. I downloaded a 50-page document about Wengen, and used the suggestions to plan all our daily activities. I love the discounts on train tickets and other activities they share as well. Definitely sign up!

This site has been very helpful in giving information and guidance and clarification of doubts. We had a wonderful trip to Switzerland.
This web and their forum are a true treasure chest! Moderators reply instantly and with wealth of valuable information. And I’ve managed to find accommodation through their partners as they have larger listing. Thank you for all your work and I wish you even more content and a long long future! 🙂

This web and their forum are a true treasure chest! Moderators reply instantly and with wealth of valuable information. Thank you for all your work and I wish you even more content and a long future!

The most helpful travel sight I’ve found. A big reason I’ve decided to visit Switzerland. They make vacation planning much easier with prompt responses and helpful information.

Informative and factual. It will be of great help to those who intend visiting Switzerland.

This site made a huge difference for our trip to Switzerland. A wealth of great information and links that made our travel planning a lot easier. The end result, we had a great trip and stayed in a couple cities that weren’t initially on our radar. (especially loved Wengen). The Swiss Rail Pass made traveling everywhere a breeze. Definitely will use this site again.
Found this WEB site before a huge trip to Switzerland and boy did they help so much in the planning process. No question was to mundane or simple for them. Lot’s of great recommendations for places to stay, areas to visit and things to do. 6 stars!
I would recommend Myswissalps.com to anyone traveling in Switzerland. This is a group of informed, thoughtful people who have no purpose other than making your experience as good as it can be. I have a little knowledge of the area, especially Interlaken and Unterseen, and based on that I can say that they know their stuff. I rely on them to provide what I need and recommend them to friends and family who get the notion that I know more than I know. Thank you for being there!

Excellent information enthusiastic staff

So impressed with this group of folks whose sole aim is to help you have a better experience on your Swiss holiday. Invaluable info, helpful suggestions, kind people. Our upcoming trip to Switzerland will be so much better because of the help MySwissAlps has provided. Highly, highly recommended!
Veel interessante en hedendaagse info.
It was very helpful to read the trip reports of other visitors on the forums in planning our visit to Switzerland. The links, answers to questions and suggestions that the expert moderators provided were invaluable in planning our itinerary for our trip in September 2022.
Helpful forum, wealth of information!
It was the dream of my life to visit Switzerland…and to make it real “Myswissalps.com” has been of great value. They helped me to plan my trip by answering my questions and explaining some important details related to places and seasons to go.
Always up to date and informative
answers to a myriad of questions for travelers in the Bavarian alps area

this forum is super helpful for first timer to switzerland . knowing the in and outs and tons of information available . Moderator and members here are super friendly and helpful in giving ideas

Can’t say enough about how helpful the website and forums are. Responses are quick and up to date. I am planning a new trip to Switzerland and getting great information. On a previous trip I even asked a question while I was on a train and got an immediate response!
Reviews in the MySwissAlps community

Thank you so much! You guys are amazing! This site is fantastic.
First of all – this website and forum have been soooo amazingly helpful to us for planning our upcoming trip! Thanks to all the great info & answers!
So looking forward to being back in Switzerland after 25 years! Thanks for making this site so amazingly helpful.
Planning
Planning
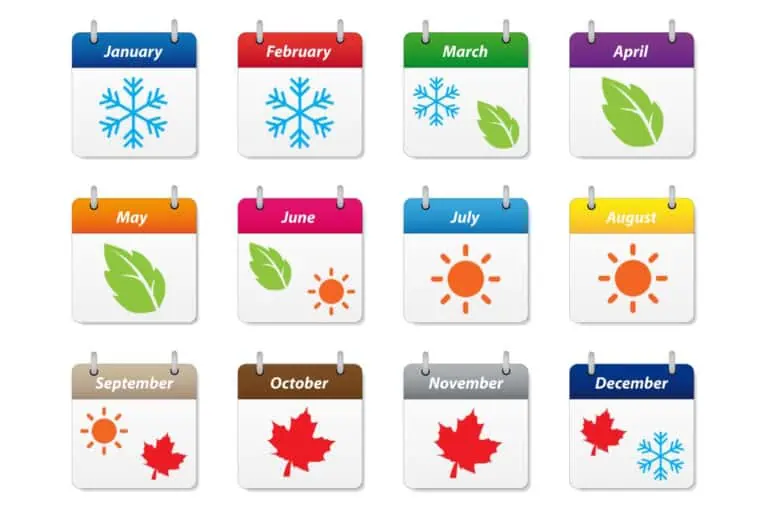
Best time to visit
Itineraries
Travel
Travel
Train

Swiss Travel Pass
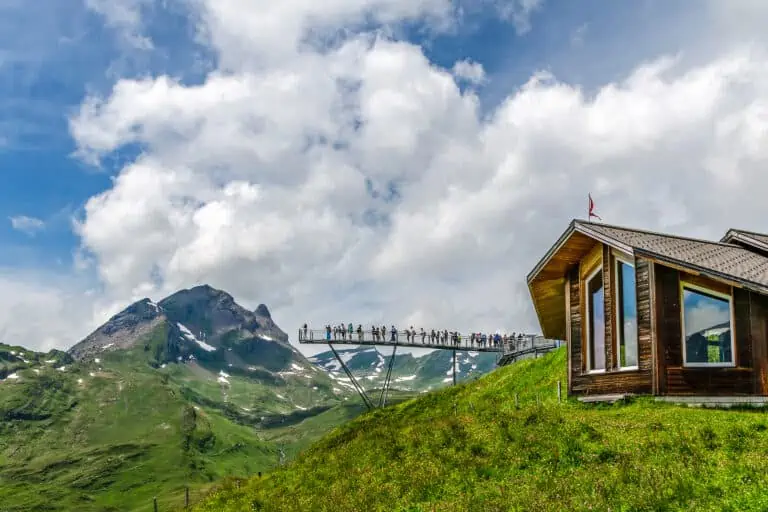
Activities
Activities
Budget activities
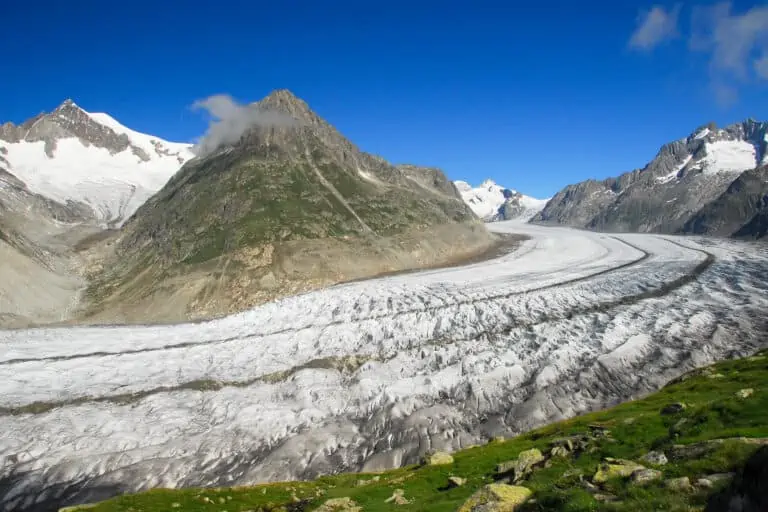
Scenic trips
Accommodation
Accommodation
Hotels
Holiday homes
More to prepare for Switzerland
Blog